POOL CONSTRUCTION PROCESS
1. Consultation
We start off our process by coming out to the property to take measurements of the space and really listen to what you would like in your dream pool.
2. 3D Design & Plans
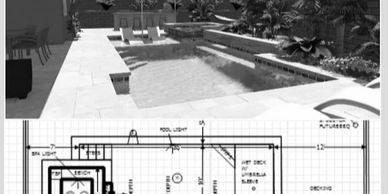
Next, we create a visual representation of the new pool/spa through our 3D design program in addition to a 2D scale plan to submit to your homeowner’s association and our engineers.
3. Engineering & Permitting
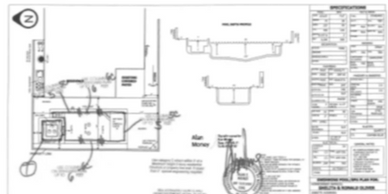
Our civil engineers add in their zest (structural calculations & reinforcement details) so we can present the plans to the building department for permitting.
4. Excavation
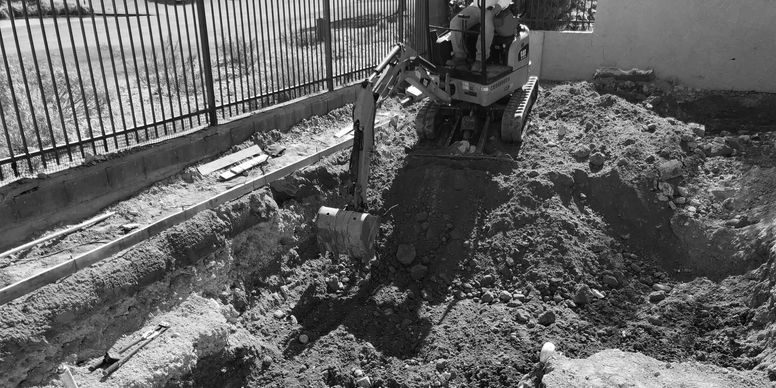
Before we start a dig, we paint the exact layout and placement of the pool/spa from our plans onto the ground for any last minute adjustments. Once we get your approval, it is time to put our heavy equipment to use!
5. Underground Plumbing & Major Equipment Setting
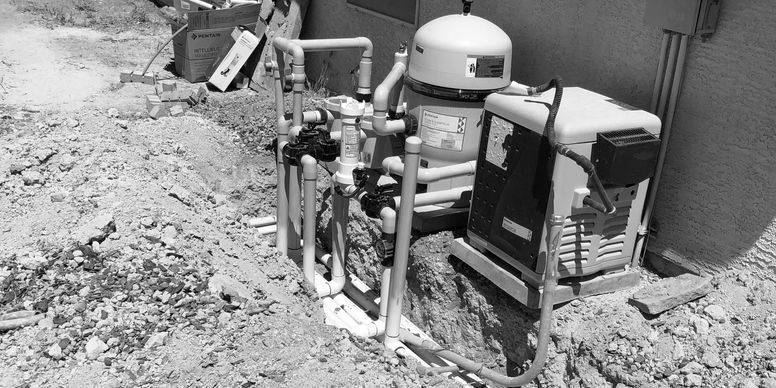
After the hole is dug, our licensed plumbers set the major pool equipment and dig their trenches to lay down the connecting pipes.
6. Rebar (Reinforced Steel)
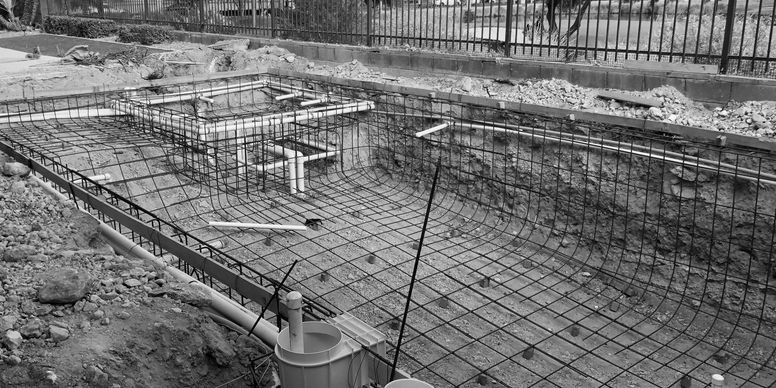
Based on our engineer’s structural calculations, the rebar is then installed like a grid throughout the pool. Other features like waterfalls & grottos would also be formed during this stage.
7. Underground Electrical
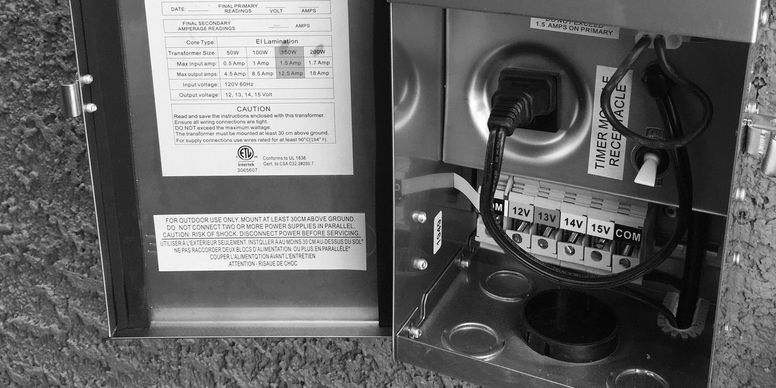
During this stage, our licensed electricians install the pool panel, wiring, electrical for underwater lighting, and bonding or grounding as needed.
8. Shotcrete/Gunite
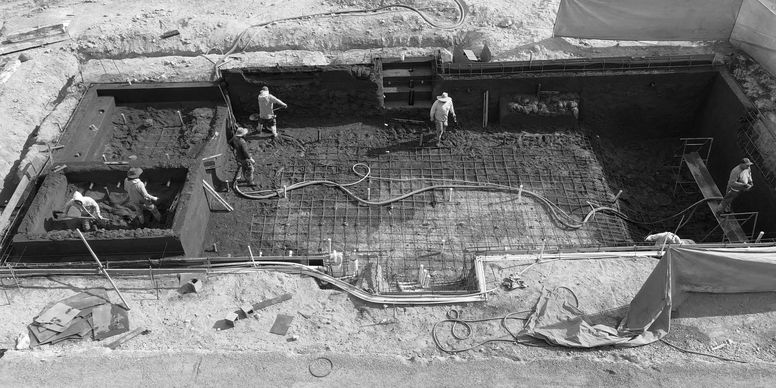
Following all the necessary inspections and stages above, it’s time to “shoot” the pool with 4500psi concrete and trowel for a smooth finish. To ensure the concrete shell cures properly, the homeowner is to spray it with water 2-3 times a day for at least 1 week. The water collecting at the bottom is normal and will be pumped out at a later stage.
9. Tile
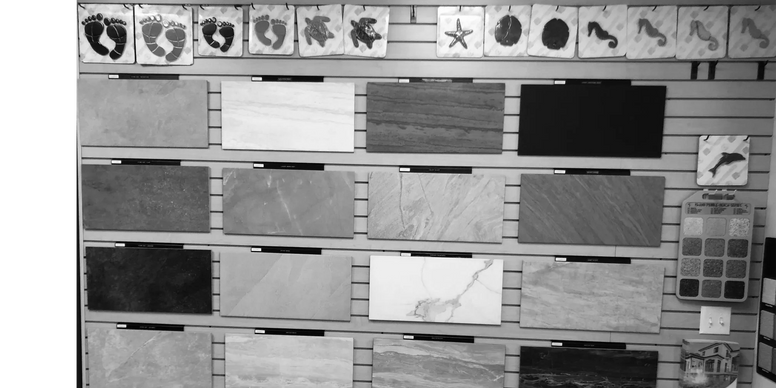
Here comes the fun part! You get to choose what type & color of tile you would like in the pool. While this seems purely for aesthetics, the tile actually serves a purpose by protecting the pool shell and sealing any spots where water could get behind it.
10. Deck, Drainage,
Barriers & Gates
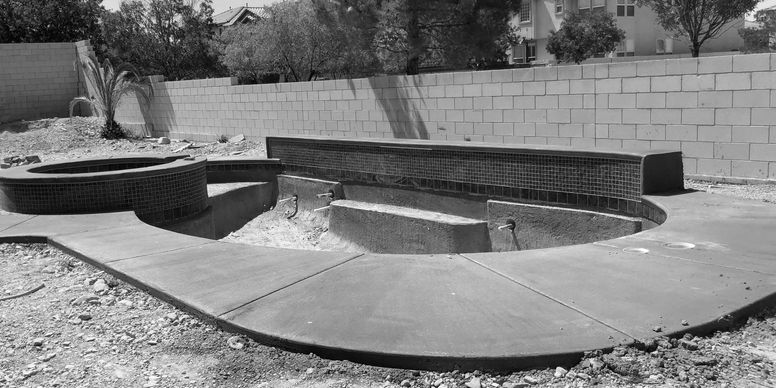
By this stage, we know you are itching to get water in the pool…we’re almost there! The surrounding area of the pool is cleaned, drainage is set, and concrete is poured to properly direct away any water. Wait at least 24hrs before walking on it or letting your pets loose. Before we can spray the texture & paint, the concrete will need to cure for at least 1 week. Any remaining plumbing or electrical items will be finished. Also note that pool-coded gates and safety devices are to be installed & ready for inspection.
11. Plastering
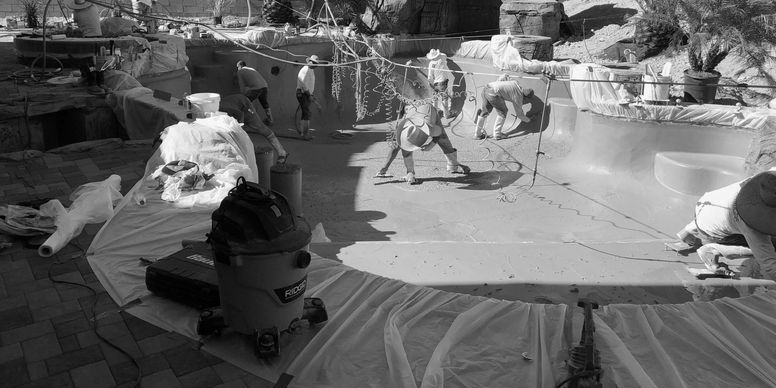
Today’s the day! Whether you chose standard white plaster, a quartz finish, or a pebble interior, our plasterers are ready. They spray the concrete shell and smooth out their layer. The plaster material is manufactured to be submerged in water, so the pool must immediately be filled with water. The plasterers will get it started, but it will be your responsibility to ensure the pool fills properly to the middle of the waterline tile and not moved or turned off until then. If an acid wash is needed for the pebble, that will be schedule before filling with water.
12. Start-Up
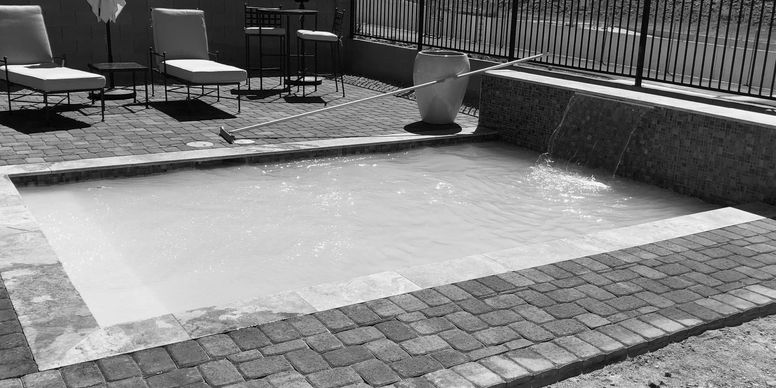
Finally! The pool is full, the plumbing as been pressure tested for leaks, all required inspections have been scheduled/passed, the equipment is ready to be turned on, and the first batch of chemicals is dropped in! We will have our service tech show you the basic operations of the equipment and how to care for your pool. As the homeowner, you will also need to contact Southwest Gas utility company to connect to the meter.
Tip: Make sure to hire an experienced & knowledgeable pool service company for monthly visits to ensure your pool’s health lasts for years to come!
Enjoy
